There’s something special about Southern comfort food. It warms the heart and soul.
Southern Chicken Chili is a prime example of this. Packed with tender chicken, beans, and a mix of spices, this dish brings a taste of the South to your kitchen. Whether you’re new to cooking or a seasoned chef, this recipe is easy to follow.
It combines classic Southern flavors with the hearty goodness of chili. Perfect for a family dinner or a cozy night in, Southern Chicken Chili is sure to become a favorite. Dive into this recipe and enjoy a bowl of warmth and flavor that’s second to none. Ready to cook? Let’s get started on this Southern classic!

Credit: www.asouthernsoul.com
Introduction To Southern Chicken Chili
Southern Chicken Chili combines tender chicken, hearty beans, and flavorful spices. This recipe offers a comforting, delicious meal perfect for any season. Enjoy the rich Southern flavors in every bite.
Craving a warm, hearty meal? Southern Chicken Chili is the answer. This dish combines the rich flavors of the South with tender chicken. It’s a perfect comfort food for any season.The Essence Of Southern Flavors
Southern cuisine is known for its bold and savory flavors. This chili captures that essence. Ingredients like smoked paprika, garlic, and onions bring depth. They create a robust taste that warms the soul.Why Choose Chicken Chili
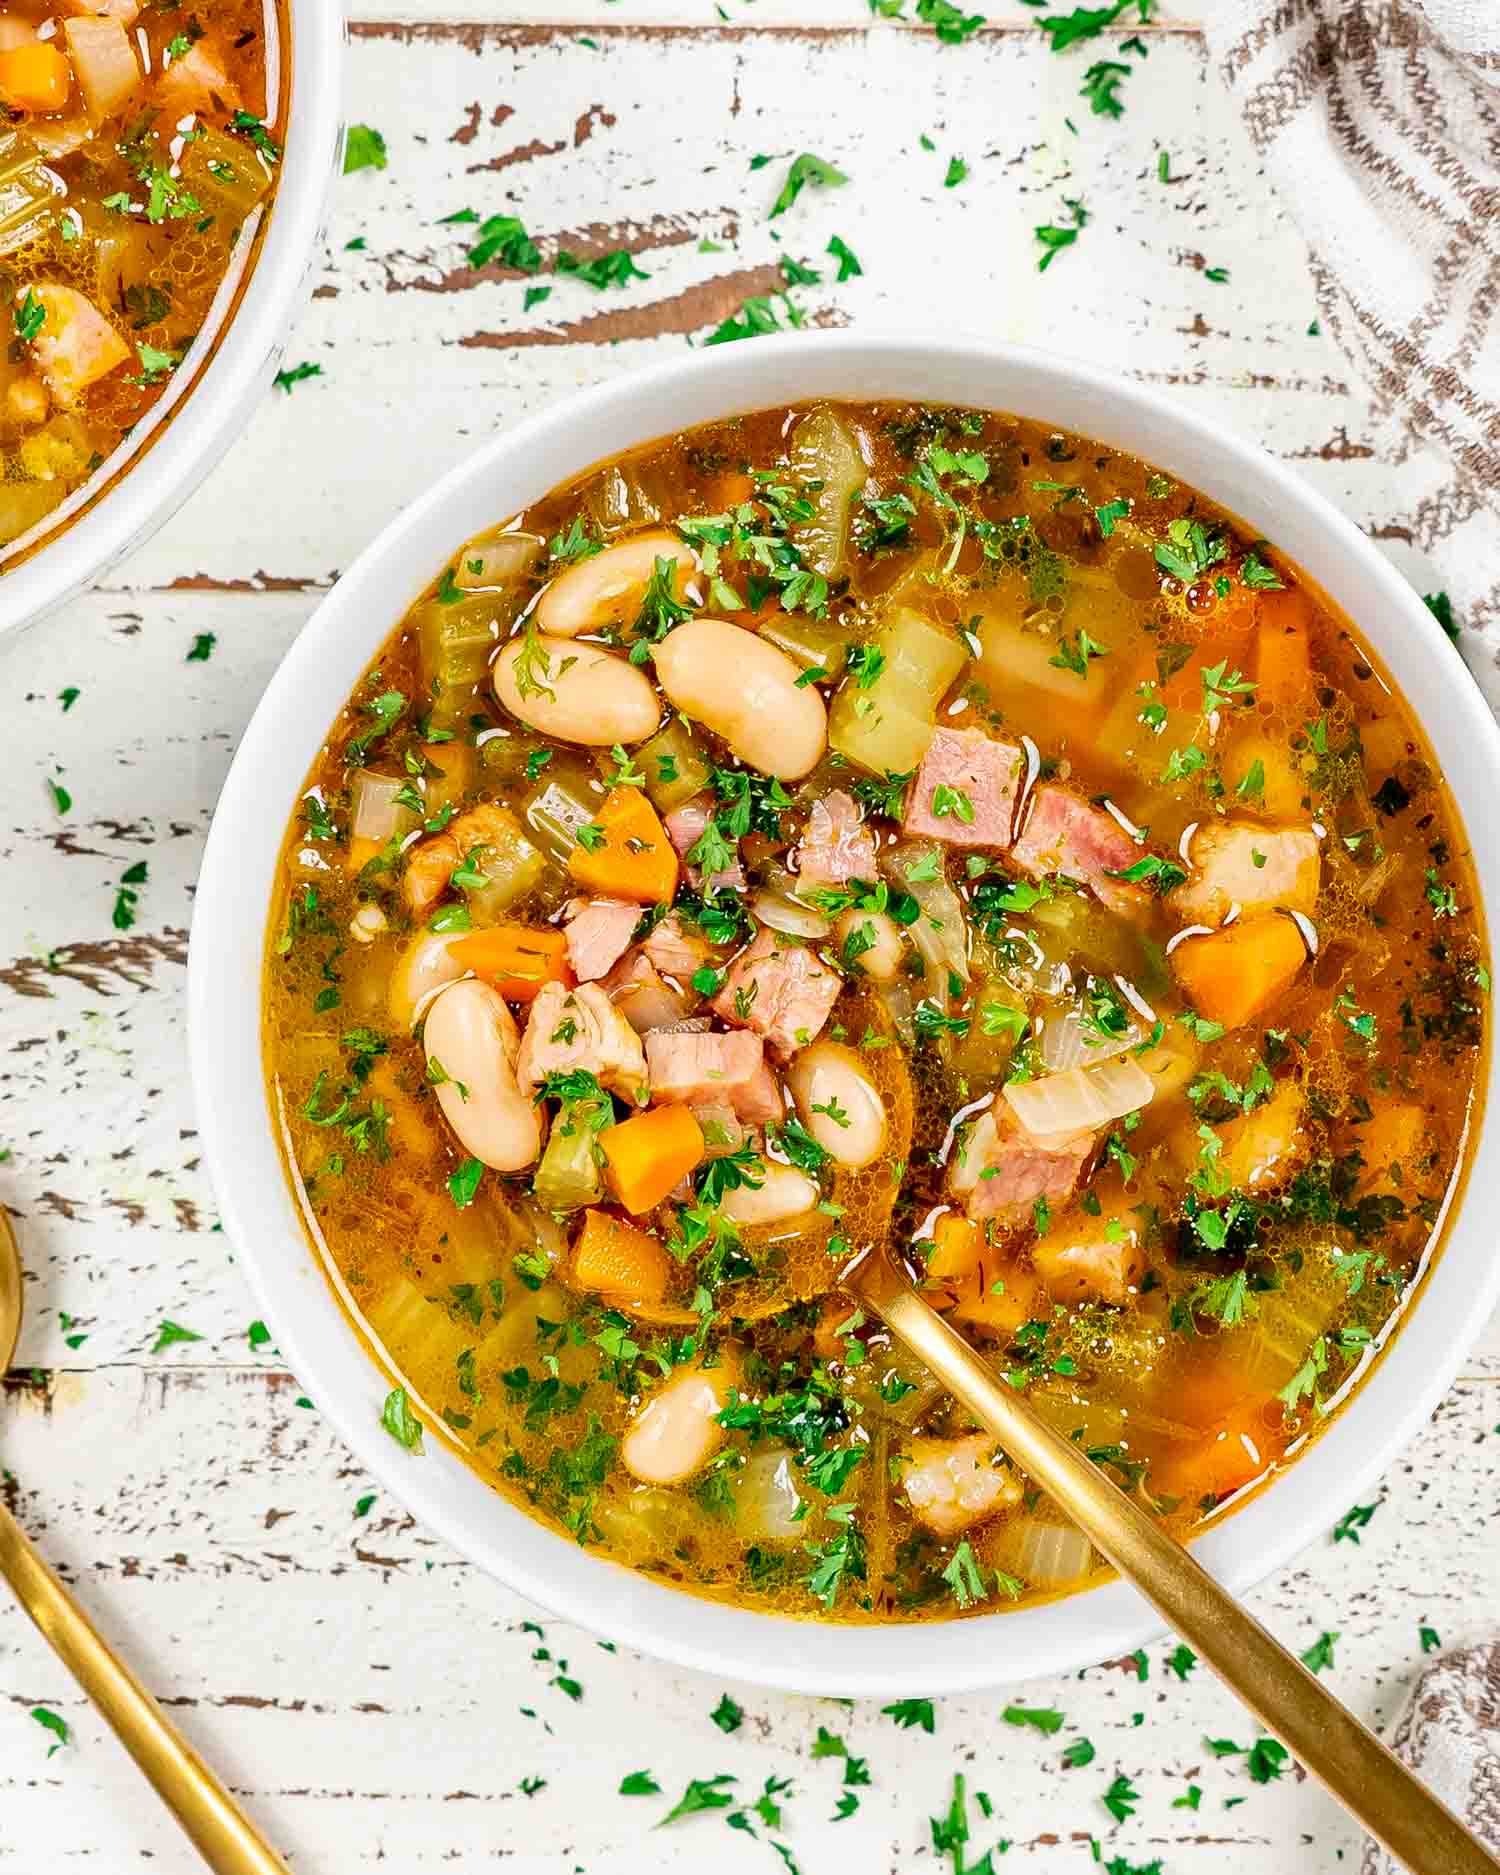
Chicken is a lean protein. It makes this chili lighter than traditional beef versions. This means it’s healthier yet still delicious. Plus, chicken absorbs the spices well. This ensures every bite is flavorful and satisfying. “`:max_bytes(150000):strip_icc()/27853_SupTSoups_251-de8a0b40d09e4f1788174f75bcb23f0a.jpg)
Credit: www.southernliving.com
Ingredients List
Creating a delicious Southern Chicken Chili starts with gathering the right ingredients. The ingredients list is crucial for achieving that rich, hearty flavor. This section will guide you through the essential and optional ingredients. Let’s dive into what you need to make this mouth-watering dish.
Essential Ingredients
For a perfect Southern Chicken Chili, you must have these key ingredients:
- 1 pound of chicken breast, diced
- 1 can of diced tomatoes (14.5 oz)
- 1 can of black beans (15 oz), drained and rinsed
- 1 can of corn kernels (15 oz), drained
- 1 small onion, chopped
- 2 cloves of garlic, minced
- 1 tablespoon of chili powder
- 1 teaspoon of cumin
- 1 teaspoon of paprika
- 2 cups of chicken broth
- Salt and pepper to taste
- 1 tablespoon of olive oil
Optional Add-ins For Extra Flavor
Enhance your Southern Chicken Chili with these optional ingredients:
- 1 can of kidney beans (15 oz), drained and rinsed
- 1 bell pepper, chopped
- 1 jalapeño, finely chopped for some heat
- 1 teaspoon of smoked paprika for a smoky flavor
- 1/2 cup of sour cream for creaminess
- 1/2 cup of shredded cheddar cheese for topping
- Fresh cilantro, chopped, for garnish
- 1 lime, cut into wedges for a citrus kick
These ingredients will help you create a flavorful and satisfying Southern Chicken Chili. Feel free to customize it to suit your taste.
Preparation Steps
Before cooking your delicious Southern Chicken Chili, it is crucial to prepare all ingredients properly. Follow these steps for a perfect and savory dish.
Prepping The Chicken
First, take your chicken breasts and rinse them with cold water. Pat them dry with a paper towel. Trim any excess fat using a sharp knife. Cut the chicken into 1-inch cubes. This size ensures even cooking.
Next, place the chicken pieces in a bowl. Season with salt and pepper. Add a tablespoon of olive oil. Mix well to coat the chicken evenly. Set the bowl aside while you prepare the vegetables.
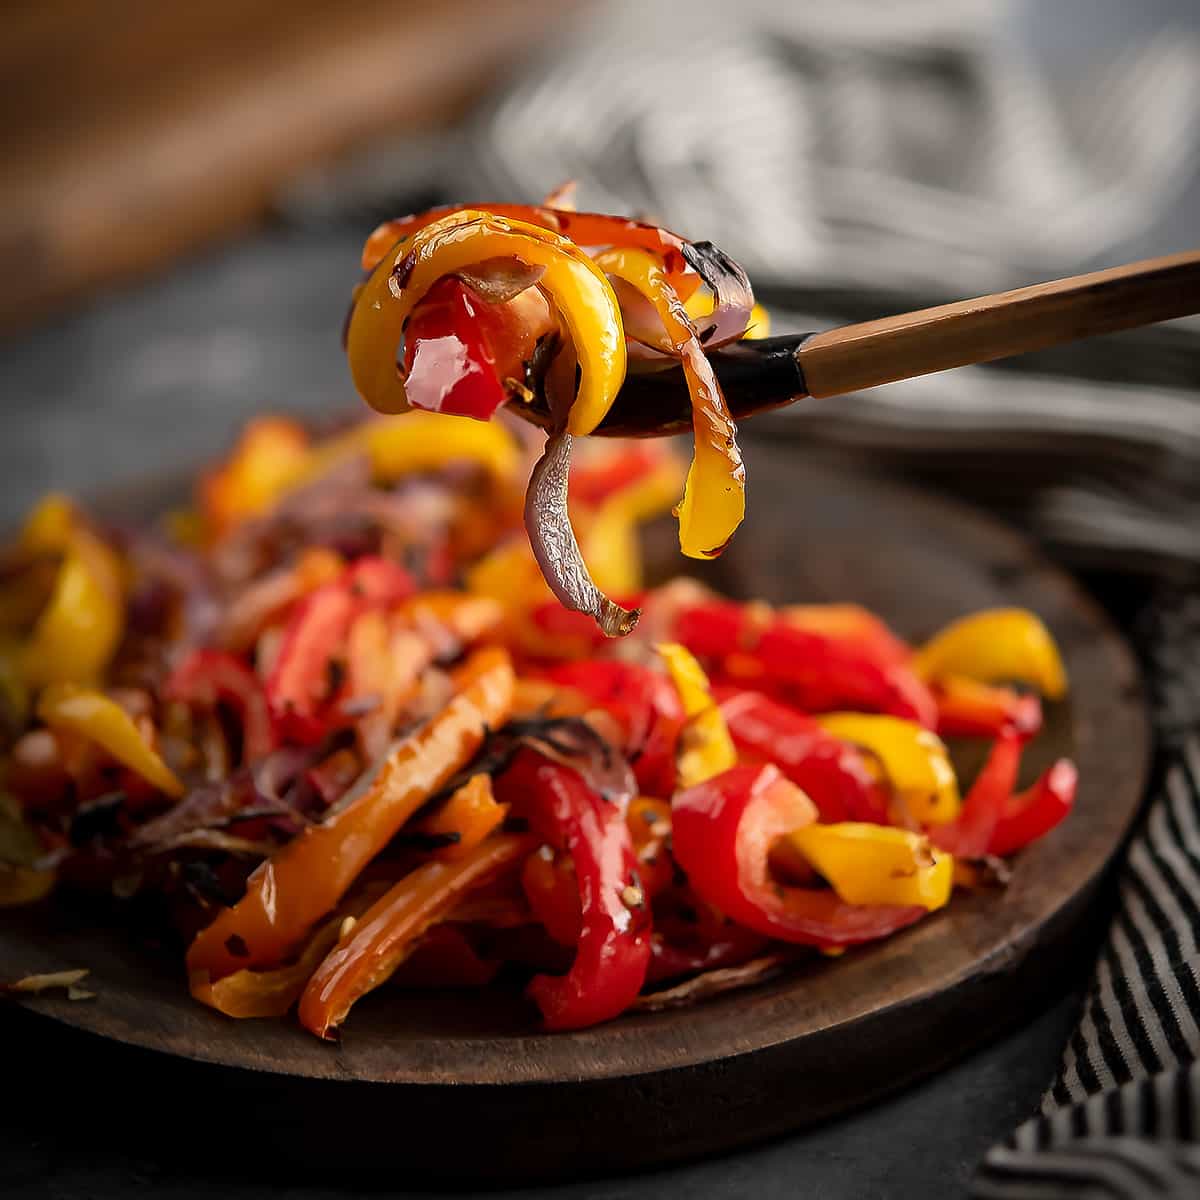
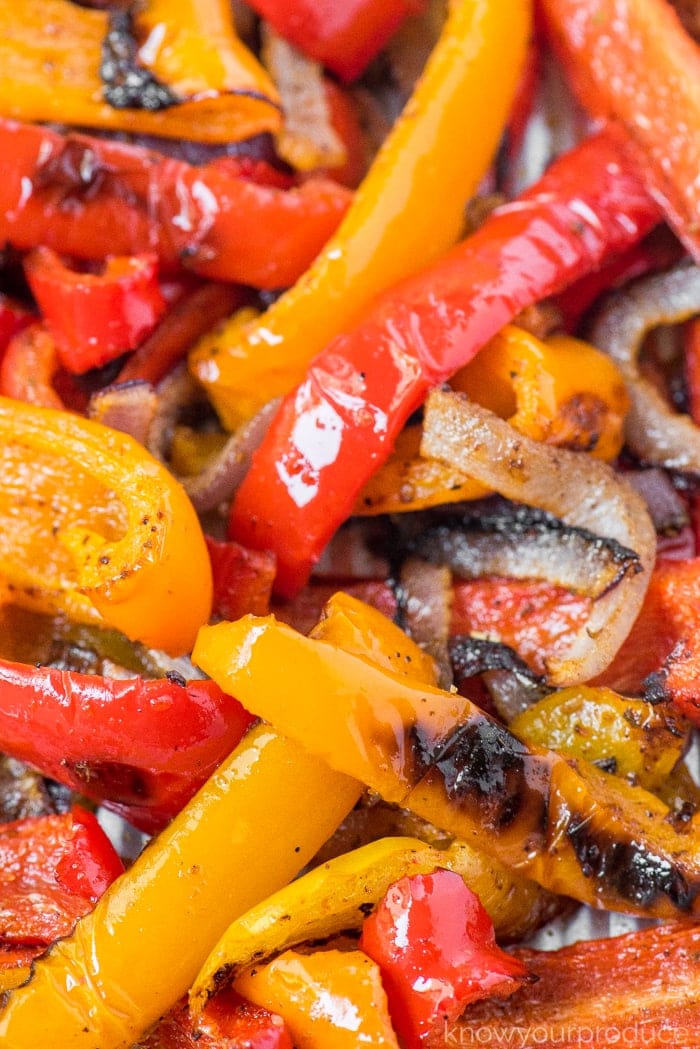
Chopping The Vegetables
Vegetables add flavor and nutrients to your chili. Gather the following vegetables:
- Onion
- Bell peppers
- Garlic
- Jalapeños (optional for extra spice)
Peel and chop the onion into small, even pieces. For the bell peppers, remove the seeds and chop into similar-sized pieces. Mince the garlic finely. If using jalapeños, slice them thinly.
Place the chopped vegetables in separate bowls. This keeps your workspace organized. It also makes cooking smoother.
Cooking Instructions
Ready to make a delicious Southern Chicken Chili? Follow these easy cooking instructions. This recipe is simple, tasty, and perfect for any meal. Let’s get started!
Sauteing The Base
First, heat a large pot over medium heat. Add two tablespoons of olive oil. Once the oil is hot, add chopped onions and minced garlic. Cook for about 5 minutes until the onions are soft and translucent. Stir occasionally to prevent burning.
Next, add diced bell peppers and cook for another 3 minutes. This step builds the flavor base for your chili. Your kitchen will start to smell amazing!
Adding The Broth And Simmering
Now, add chicken broth and bring it to a boil. Reduce the heat to low and let it simmer. Add cooked chicken, canned tomatoes, and beans. Stir well to combine all the ingredients.
Season with chili powder, cumin, salt, and pepper. Let the mixture simmer for about 20 minutes. This allows the flavors to meld together. Stir occasionally to prevent sticking.
Your Southern Chicken Chili is now ready to serve. Enjoy it with your favorite toppings!
Serving Suggestions
Serving your Southern Chicken Chili just got easier with these tasty suggestions. Whether you’re hosting a gathering or enjoying a cozy night in, the right accompaniments can elevate your dish. Let’s dive into some ideal side dishes and topping ideas that will complement your chili perfectly.
Ideal Side Dishes
Pair your Southern Chicken Chili with these mouth-watering sides:
- Warm Cornbread: Sweet and fluffy, perfect for soaking up the chili.
- Buttery Biscuits: Their flaky texture adds a delightful crunch.
- Steamed Rice: A simple base that balances the rich flavors.
- Mixed Green Salad: Fresh greens provide a crisp contrast.
- Tortilla Chips: Crunchy and great for scooping up chili.
Topping Ideas
Enhance your Southern Chicken Chili with these delicious toppings:
- Shredded Cheese: Melty and adds a creamy texture.
- Sour Cream: A dollop to cool down the spices.
- Chopped Green Onions: Fresh and adds a bit of bite.
- Jalapeño Slices: For those who like extra heat.
- Avocado Slices: Creamy and full of healthy fats.
- Fresh Cilantro: Adds a burst of fresh flavor.
Tips For The Perfect Chili
Creating the perfect Southern Chicken Chili is an art. Each step matters. Follow these tips to make your chili rich and delicious.
Balancing Flavors
Balancing flavors in your chili is crucial. Here are some key tips:
- Sweetness: Add a touch of sugar or honey.
- Acidity: A splash of vinegar or lime juice works wonders.
- Savory: Use rich chicken broth and a hint of soy sauce.
Use these ingredients to balance the sweet, sour, and savory flavors. Taste your chili often. Adjust to your preference.
Adjusting The Spice Level
Spice level is personal. Here are some ways to adjust it:
- Mild Chili: Use mild chili powder and reduce jalapeños.
- Medium Heat: Add a bit more chili powder and one jalapeño.
- Hot Chili: Include cayenne pepper and extra jalapeños.
For less heat, add more tomatoes or beans. To make it hotter, increase the spices gradually. Always taste before serving.
| Spice Level | Chili Powder | Jalapeños | Cayenne Pepper |
|---|---|---|---|
| Mild | 1 tbsp | None | None |
| Medium | 2 tbsp | 1 | None |
| Hot | 3 tbsp | 2 | 1 tsp |
Use these tips and your chili will always hit the spot. Enjoy the process and happy cooking!
Storing And Reheating
Storing and reheating your Southern Chicken Chili properly ensures you enjoy the rich flavors each time. Whether you plan to eat it soon or save it for later, knowing the best ways to store and reheat this dish is key.
Refrigeration Tips
To keep your Southern Chicken Chili fresh in the refrigerator, follow these tips:
- Let the chili cool to room temperature before storing.
- Transfer the chili to an airtight container.
- Store in the refrigerator for up to 4 days.
- Label the container with the date for easy tracking.
When you’re ready to eat, reheat the chili on the stove over medium heat. Stir occasionally until it’s heated through. You can also use a microwave. Heat it in a microwave-safe bowl for 2-3 minutes, stirring halfway through.
Freezing For Later
If you want to save your chili for a longer period, freezing is the way to go. Here’s how:
- Allow the chili to cool completely.
- Divide the chili into portions for easier reheating.
- Use freezer-safe bags or containers to store each portion.
- Remove as much air as possible from the bags before sealing.
- Label each container with the date.
Frozen chili can last up to 3 months. To reheat, thaw the chili in the refrigerator overnight. Then, reheat on the stove over medium heat, stirring occasionally. You can also reheat from frozen. Simply place the frozen chili in a pot and heat on low until thawed, then increase to medium heat to warm through.
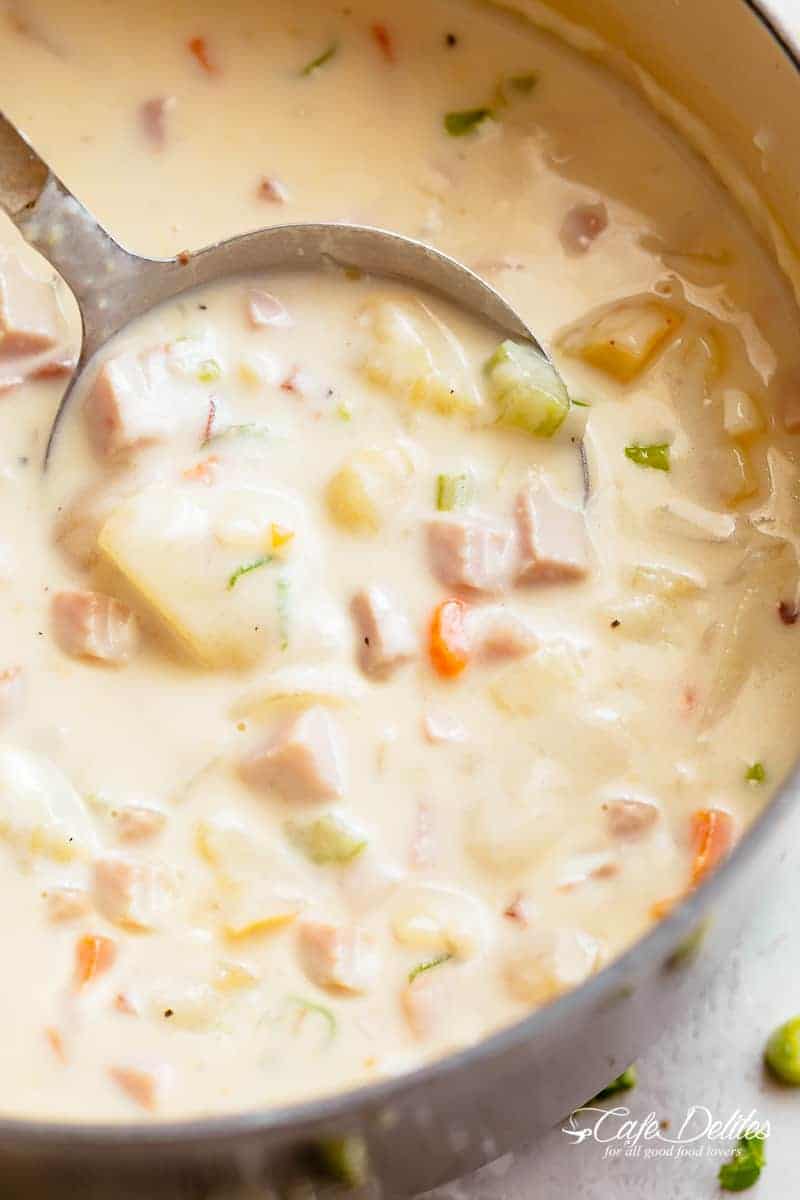
:max_bytes(150000):strip_icc()/White_Chicken_Cream_Cheese_Chili_010-108569d8f0864b0aada0d2d1b250c1e1.jpg)
Credit: www.southernliving.com
Frequently Asked Questions
What Ingredients Are In Southern Chicken Chili?
Southern Chicken Chili includes chicken, beans, tomatoes, onions, bell peppers, garlic, and spices.
How Long Does It Take To Cook?
It takes about 30 minutes to cook Southern Chicken Chili.
Can I Make This Recipe Ahead Of Time?
Yes, you can make this recipe ahead. It tastes even better the next day.
Is Southern Chicken Chili Spicy?
It can be spicy depending on the amount of chili powder used.
Conclusion
This Southern Chicken Chili recipe is perfect for any meal. Its rich flavors and hearty ingredients make it a family favorite. Enjoy it with friends or at gatherings. It’s simple to make and full of taste. Give it a try today and experience comfort in every bite.
Your taste buds will thank you. Happy cooking!
:max_bytes(150000):strip_icc()/ALR-recipe-56927-delicious-ham-and-potato-soup-hero-01-ddmfs-4x3-c5438ce16a834a8690fdca5ee2f1acff.jpg)


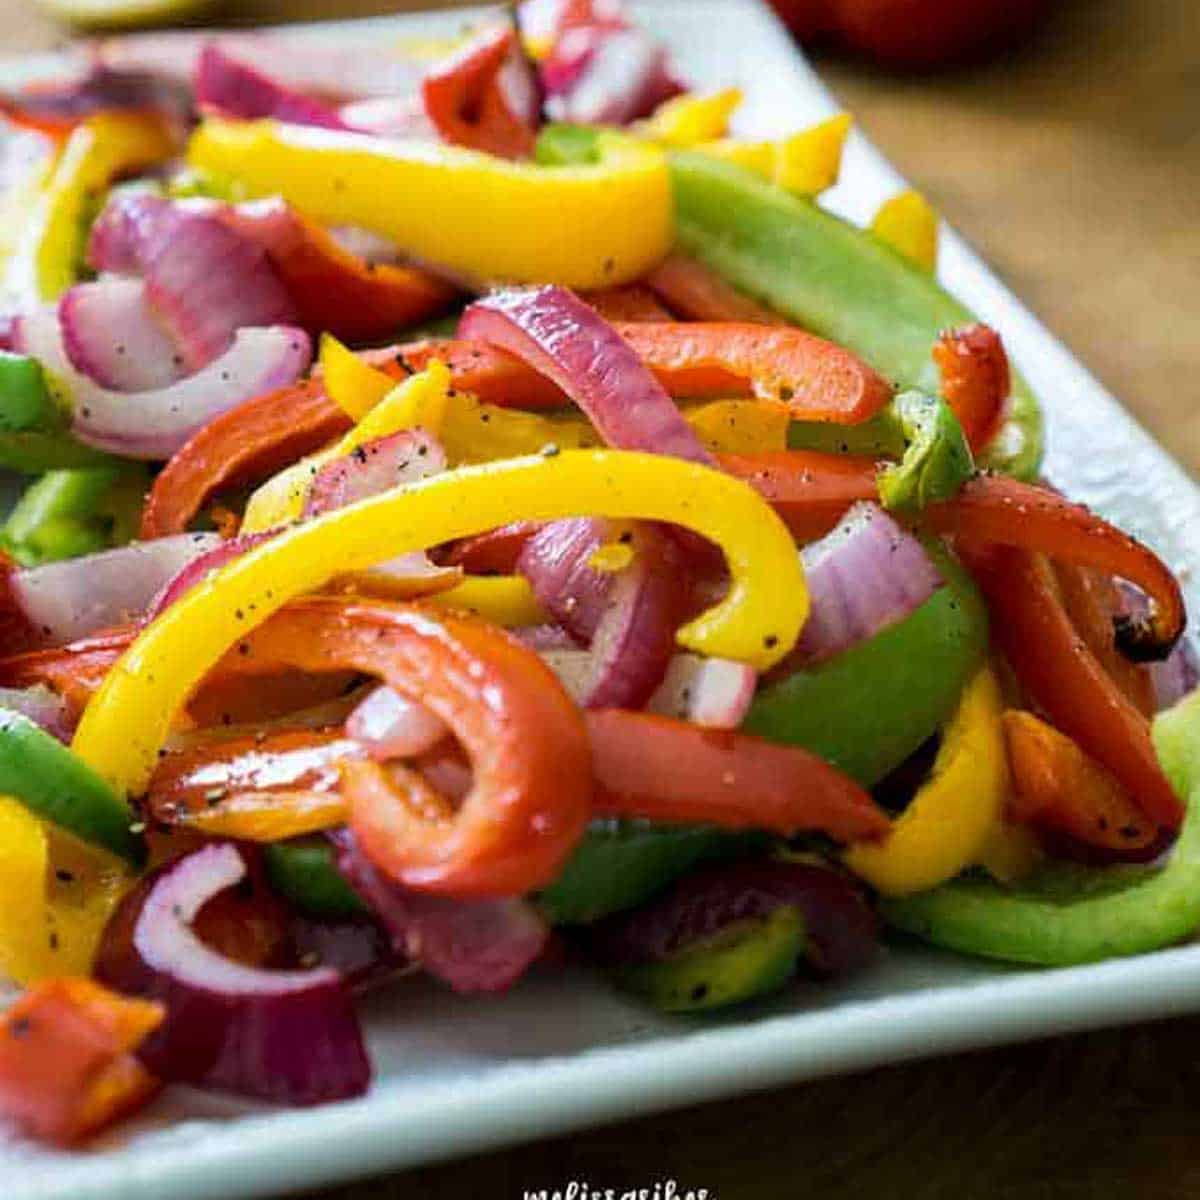
:max_bytes(150000):strip_icc()/roasted-peppers-and-onions-step-03-280479-4000x4000-d9f5f0213bd7494dbe60c3c262d7d45a.jpg)