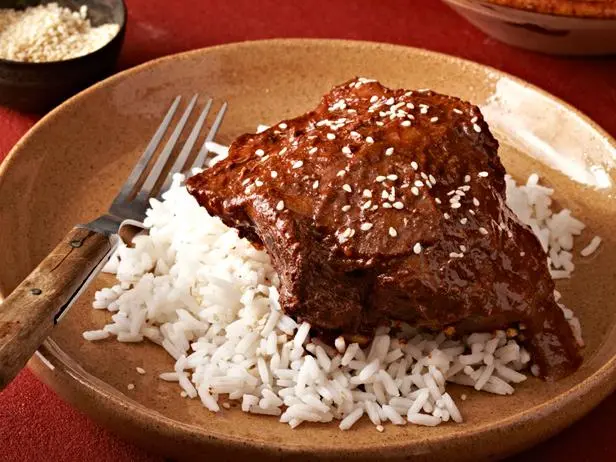
Mole is a traditional Mexican sauce known for its rich flavors. Turkey mole combines this delicious sauce with tender turkey meat.
Imagine a dish that brings together the warmth of spices, the sweetness of chocolate, and the savory taste of turkey. This is turkey mole, a culinary delight that will enchant your taste buds. Originating from Mexico, mole sauce has a unique blend of ingredients like chili peppers, nuts, spices, and chocolate.
When paired with turkey, it creates a hearty and flavorful meal. Whether you are new to Mexican cuisine or a seasoned enthusiast, this recipe offers a delicious way to enjoy turkey. Get ready to explore the delightful world of turkey mole, a dish that promises to be both comforting and exciting.
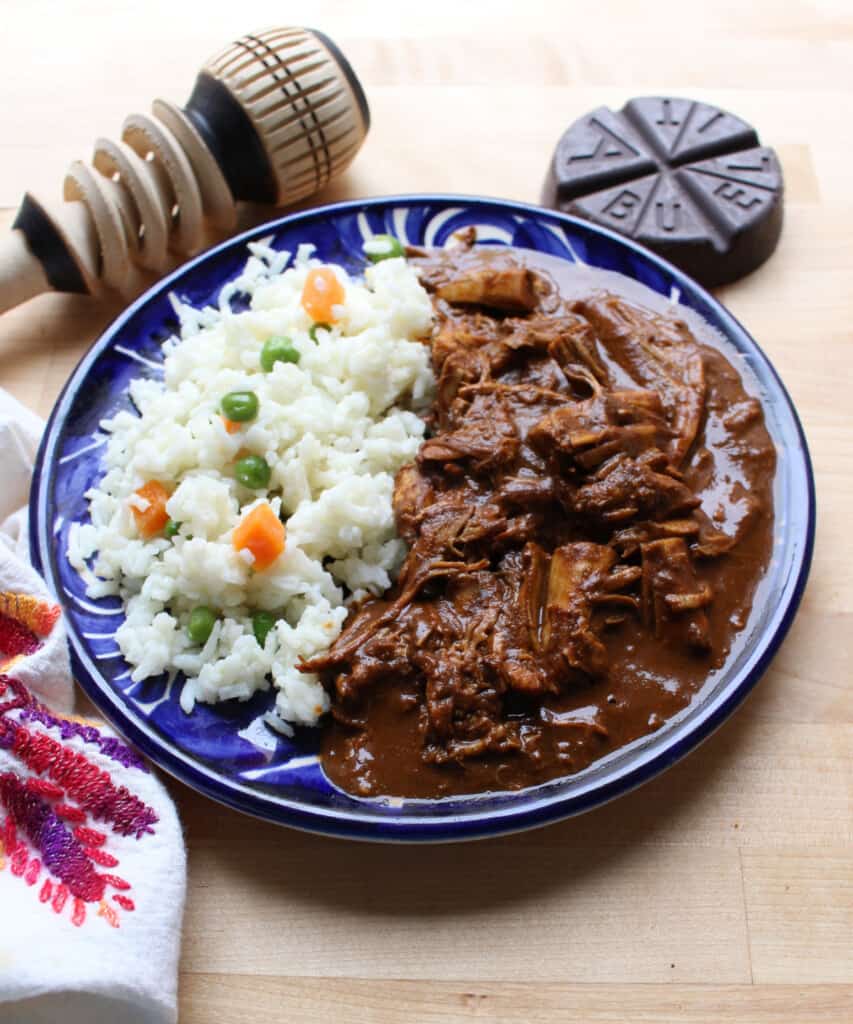
Credit: inmamamaggieskitchen.com
Ingredients For Turkey Mole
Turkey Mole is a rich and flavorful dish that combines a variety of ingredients. To make this dish, you need a mix of essential spices and fresh produce. Below, we break down the key ingredients you will need to create a delicious Turkey Mole.
Essential Spices
Spices are the heart of any mole recipe. Here are the essential spices you will need:
- Chili powder – Provides a smoky and spicy flavor.
- Cumin – Adds a warm, earthy taste.
- Cinnamon – Brings a sweet and aromatic note.
- Cloves – Offers a strong, pungent flavor.
- Nutmeg – Adds a touch of sweetness and warmth.
- Black pepper – Enhances the overall spice profile.
Fresh Produce
Fresh produce adds depth and freshness to the mole. Here are the key fresh ingredients:
- Tomatoes – Use ripe tomatoes for the best flavor.
- Onions – Adds a sweet and savory taste.
- Garlic – Provides a rich, aromatic flavor.
- Bananas – Adds a natural sweetness and thickens the sauce.
- Fresh cilantro – Gives a fresh and vibrant touch.
Combining these essential spices and fresh produce ensures a flavorful and authentic Turkey Mole. Use the freshest ingredients possible for the best results.
Preparing The Turkey
Preparing the turkey is a crucial step in creating a delicious Turkey Mole. This section covers cleaning and trimming and seasoning the meat. These steps ensure a flavorful and tender turkey, ready for the rich mole sauce.
Cleaning And Trimming
Start by rinsing the turkey under cold water. This removes any unwanted particles. Place the turkey on a clean surface. Pat it dry using paper towels.
Next, trim any excess fat and loose skin. Use a sharp knife for better precision. This step helps the turkey cook evenly.
| Step | Details |
|---|---|
| Rinse | Use cold water to rinse the turkey |
| Dry | Pat the turkey dry with paper towels |
| Trim | Remove excess fat and loose skin |
Seasoning The Meat
Seasoning the turkey is essential for a flavorful dish. Start by rubbing olive oil all over the turkey. This helps the spices stick better.
Next, sprinkle salt and pepper generously. Make sure to cover the entire surface. For an extra kick, add garlic powder and paprika.
- Rub olive oil on the turkey
- Sprinkle with salt and pepper
- Add garlic powder and paprika
Let the seasoned turkey sit for at least 30 minutes. This allows the spices to penetrate the meat.
- Rinse and dry the turkey
- Trim excess fat
- Rub with olive oil
- Season with salt, pepper, garlic powder, and paprika
- Let it sit for 30 minutes
Once seasoned, the turkey is ready for the next steps in the Turkey Mole recipe. Proper preparation ensures a tasty and tender result.
Making The Mole Sauce
Making the mole sauce is the most important part of the Turkey Mole recipe. This rich, thick sauce has many ingredients and steps. Start with roasting the chilies and then blend the sauce to perfection. Let’s dive into the details.
Roasting The Chilies
Roasting the chilies brings out their deep flavors. Use dried chilies like ancho, pasilla, and mulato. Roast them on a dry skillet over medium heat. Turn them often to avoid burning. They should puff up and become fragrant. Once roasted, soak the chilies in hot water for 20 minutes. This helps soften them for blending.
| Chilies | Roasting Time |
|---|---|
| Ancho | 2-3 minutes |
| Pasilla | 2-3 minutes |
| Mulato | 2-3 minutes |
Blending The Sauce
Blending the sauce is the next step. First, drain the chilies and remove their stems and seeds. Place them in a blender. Add roasted tomatoes, onions, garlic, and spices. Common spices include cinnamon, cloves, and cumin. Pour in some chicken broth to help blend. Blend until smooth.
- Drain the chilies
- Remove stems and seeds
- Place in a blender
- Add roasted vegetables and spices
- Pour in chicken broth
- Blend until smooth
Strain the sauce to remove any bits. Then, simmer it in a pot for 30 minutes. Stir often to prevent sticking. The sauce should become thick and rich. Adjust the seasoning as needed. Your mole sauce is now ready to pair with turkey.
Cooking The Turkey
Cooking the turkey is a crucial step in making delicious Turkey Mole. The process involves two main steps: searing the meat and simmering it in the rich mole sauce. Let’s dive into each step.
Searing The Meat
Start by heating a large skillet over medium-high heat. Add a tablespoon of oil and let it warm up. Place the turkey pieces in the skillet, making sure not to overcrowd them.
Sear the turkey on all sides until it turns a golden brown color. This locks in the juices and adds a rich flavor to the meat. Once seared, remove the turkey pieces and set them aside.
Simmering In Sauce
Now, it’s time to simmer the turkey in the mole sauce. Return the skillet to medium heat and pour in the prepared mole sauce. Stir the sauce well to ensure it’s smooth and even.
Place the seared turkey pieces back into the skillet, making sure they are fully covered by the sauce. Reduce the heat to low and let the mixture simmer.
Cover the skillet with a lid and allow the turkey to cook slowly. This helps the meat absorb the flavors of the mole sauce. Stir occasionally to prevent sticking.
After about 45 minutes to an hour, check the turkey for tenderness. The meat should be fork-tender and fully cooked through. Once ready, your turkey mole is prepared to serve.
Serving Suggestions
Turkey Mole is a rich, flavorful dish that can be enjoyed in many ways. The right accompaniments can elevate your dining experience. Below, you will find some traditional and creative suggestions to serve with your Turkey Mole.
Traditional Accompaniments
Traditional sides enhance the authentic taste of Turkey Mole. Here are some classics to consider:
- Mexican Rice: Fluffy and vibrant, this rice absorbs the mole sauce beautifully.
- Refried Beans: Creamy beans provide a contrasting texture to the dish.
- Fresh Tortillas: Soft, warm tortillas are perfect for scooping up every bit of mole.
- Pickled Vegetables: These add a tangy crunch that balances the rich sauce.
| Side Dish | Description |
|---|---|
| Mexican Rice | Flavored with tomatoes and spices, it pairs well with mole. |
| Refried Beans | Smooth and creamy, they complement the flavors of mole. |
| Fresh Tortillas | Warm and soft, ideal for scooping up the sauce. |
| Pickled Vegetables | Provide a tangy contrast to the rich mole. |
Creative Twists
If you want to try something different, consider these creative serving ideas:
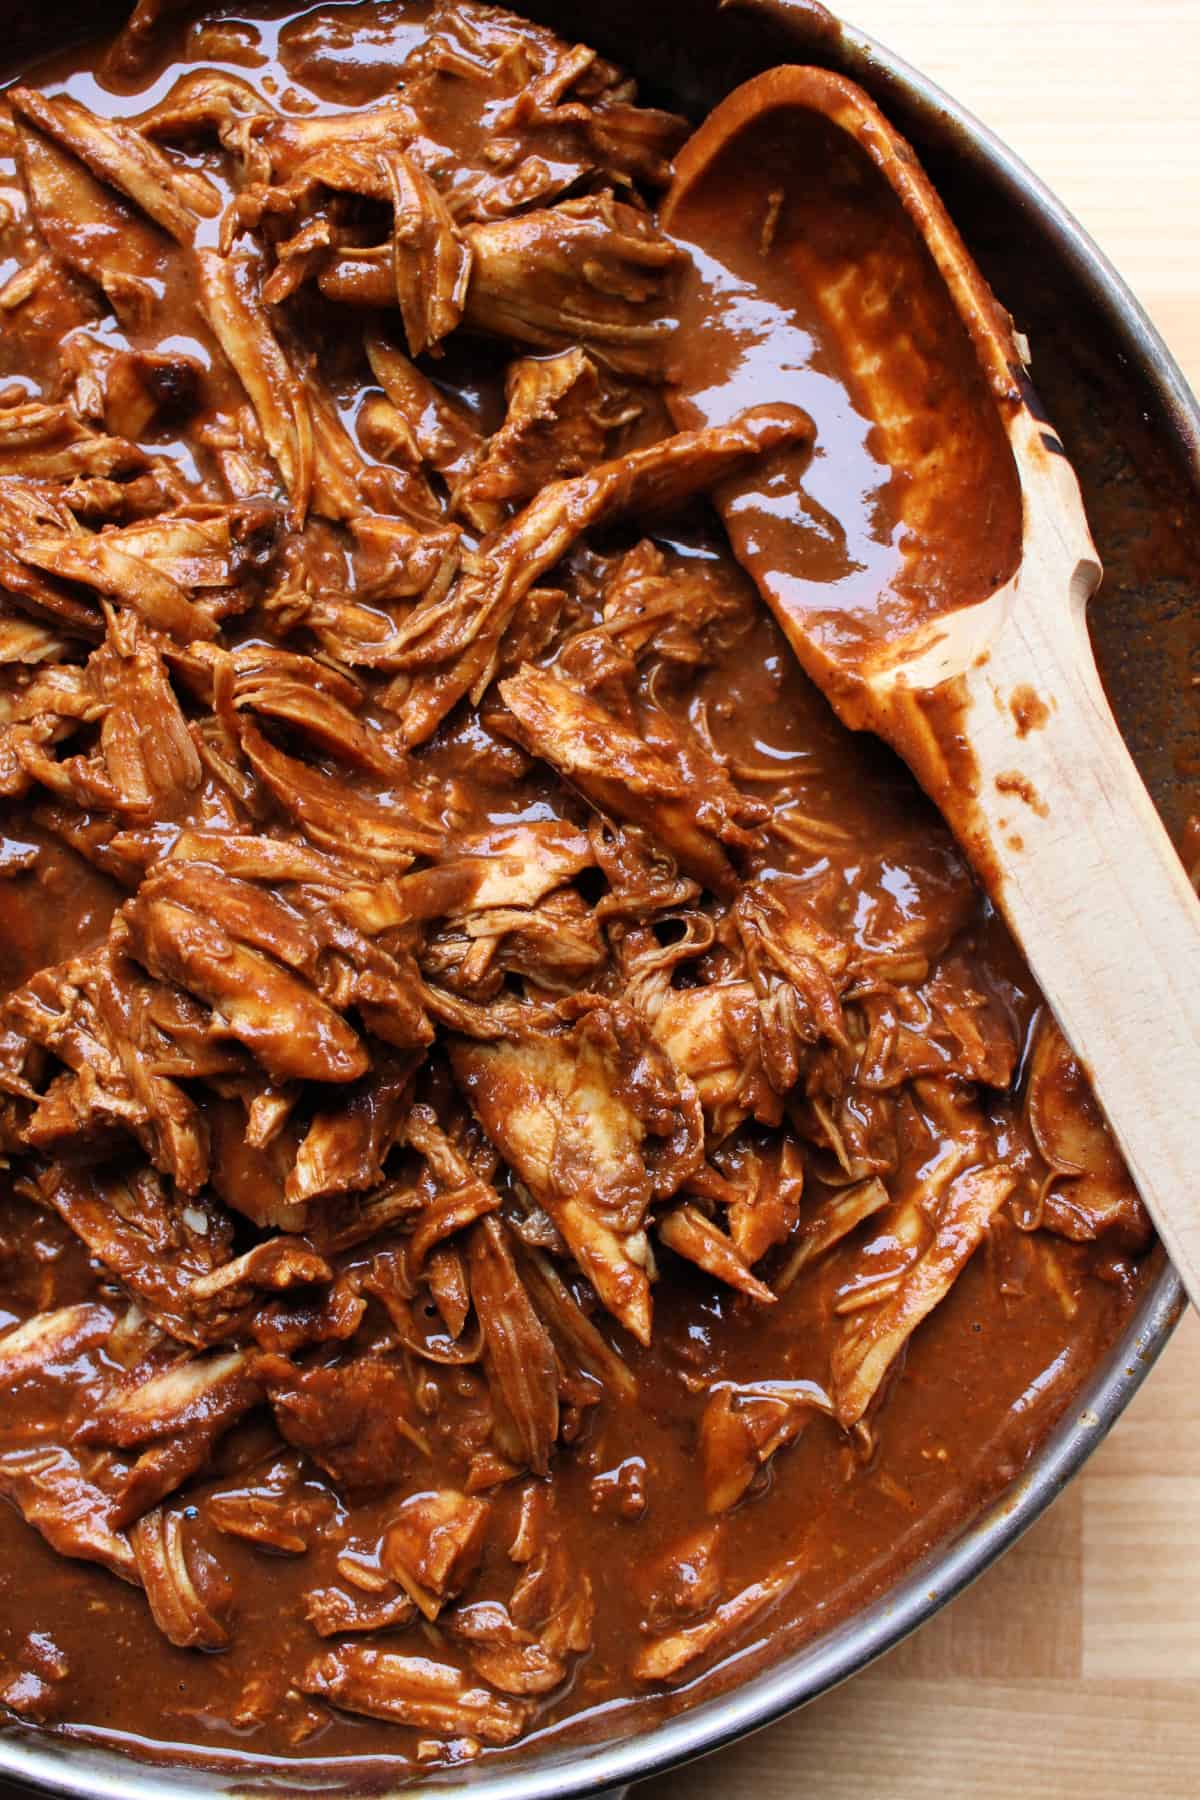
- Mole Tacos: Shred the turkey and serve in soft tacos with fresh toppings.
- Mole Enchiladas: Roll the turkey in tortillas, cover with mole sauce, and bake.
- Mole Pizza: Use mole sauce instead of tomato sauce for a unique twist.
- Mole Stuffed Peppers: Fill bell peppers with turkey mole and bake until tender.
Each of these creative ideas brings a new dimension to the traditional Turkey Mole. Whether you stick with the classics or experiment with new twists, your meal is sure to be delightful.
Credit: www.foodnetwork.com
Storing Leftovers
Turkey Mole is a delicious dish that you can enjoy for days. Proper storage of leftovers ensures the flavors remain intact and food stays safe. Follow these simple steps to store your Turkey Mole leftovers.
Refrigeration Tips
Storing Turkey Mole in the fridge is easy. Use airtight containers to keep the flavors fresh. Let the dish cool to room temperature before refrigerating.
- Store leftovers within two hours of cooking.
- Use shallow containers to cool the dish quickly.
- Label containers with the date.
Turkey Mole can last in the fridge for up to four days. Reheat thoroughly before serving.
Freezing Instructions
For longer storage, freeze Turkey Mole. Follow these steps for best results:
- Cool the dish to room temperature.
- Divide into portions for easy reheating.
- Place portions in freezer-safe containers or bags.
- Remove as much air as possible from bags.
- Label with the date and contents.
Frozen Turkey Mole can last up to three months. Thaw in the fridge overnight before reheating.
Use these tips to keep your Turkey Mole leftovers fresh and tasty.
Nutritional Information
Turkey Mole is a flavorful dish. It combines rich spices and tender turkey meat. While it tantalizes your taste buds, it’s also important to know its nutritional value. This section highlights the calorie count and key nutrients of Turkey Mole.
Calorie Count
Turkey Mole is relatively low in calories. A typical serving has around 250-300 calories. This makes it a balanced choice for a hearty meal. If you watch your calorie intake, this dish can fit well in your diet. It’s filling without being overly rich.
Key Nutrients
Turkey Mole is packed with essential nutrients. Turkey provides high-quality protein, which is vital for muscle repair and growth. It also contains B vitamins, which help maintain energy levels.
The mole sauce, made from various ingredients, includes antioxidants. These come from the chilies, tomatoes, and dark chocolate used in the recipe. Antioxidants help combat oxidative stress in the body. The dish is also a good source of iron, which is crucial for blood health.
Overall, Turkey Mole offers a well-rounded nutrient profile. It supports your health while delivering a burst of flavors. Enjoy this delicious dish with the confidence that it’s nourishing your body.
Credit: inmamamaggieskitchen.com
Tips For Perfect Mole
Creating the perfect Turkey Mole can be challenging. But with the right tips, you can achieve a delicious and balanced dish. Here are some essential tips to ensure your Mole is perfect every time.
Balancing Flavors
Balancing flavors in Mole is critical. Use a combination of sweet, spicy, and savory ingredients.
- Sweetness: Add raisins or prunes.
- Spiciness: Use dried chilies like ancho or pasilla.
- Savory: Include ingredients like tomatoes and garlic.
Adjust the amounts to suit your taste. Taste the Mole as you cook.
Common Mistakes
Many people make common mistakes when preparing Mole. Avoid these to ensure your dish turns out well:
| Mistake | Solution |
|---|---|
| Using too many chilies | Start with less, then add more if needed. |
| Not toasting spices | Toast spices to enhance their flavors. |
| Skipping the chocolate | Add a small amount of dark chocolate. |
Pay attention to these details. Your Turkey Mole will be rich and flavorful.
Frequently Asked Questions
What Is Turkey Mole?
Turkey Mole is a traditional Mexican dish. It combines turkey with a rich, flavorful sauce. The sauce includes chocolate, chili peppers, and spices.
How Long Does It Take To Make Turkey Mole?
Making Turkey Mole typically takes around 2 to 3 hours. This includes preparing the turkey and simmering the mole sauce.
Can I Use Leftover Turkey For Mole?
Yes, you can use leftover turkey for Mole. It’s a great way to repurpose cooked turkey. The rich sauce will enhance the flavor.
What Ingredients Are In Mole Sauce?
Mole sauce ingredients include chocolate, chili peppers, nuts, and spices. Common spices are cumin, cinnamon, and cloves. It’s a complex and flavorful sauce.
Conclusion
Enjoy creating this delicious turkey mole recipe at home. It’s rich and flavorful. Perfect for any occasion. Your family and friends will love it. Cooking this dish is a rewarding experience. It combines tradition with taste. So, gather your ingredients.
Follow the steps carefully. Savor the unique flavors of mole sauce. Delight in every bite. Share this recipe with loved ones. Make mealtime memorable. Happy cooking!
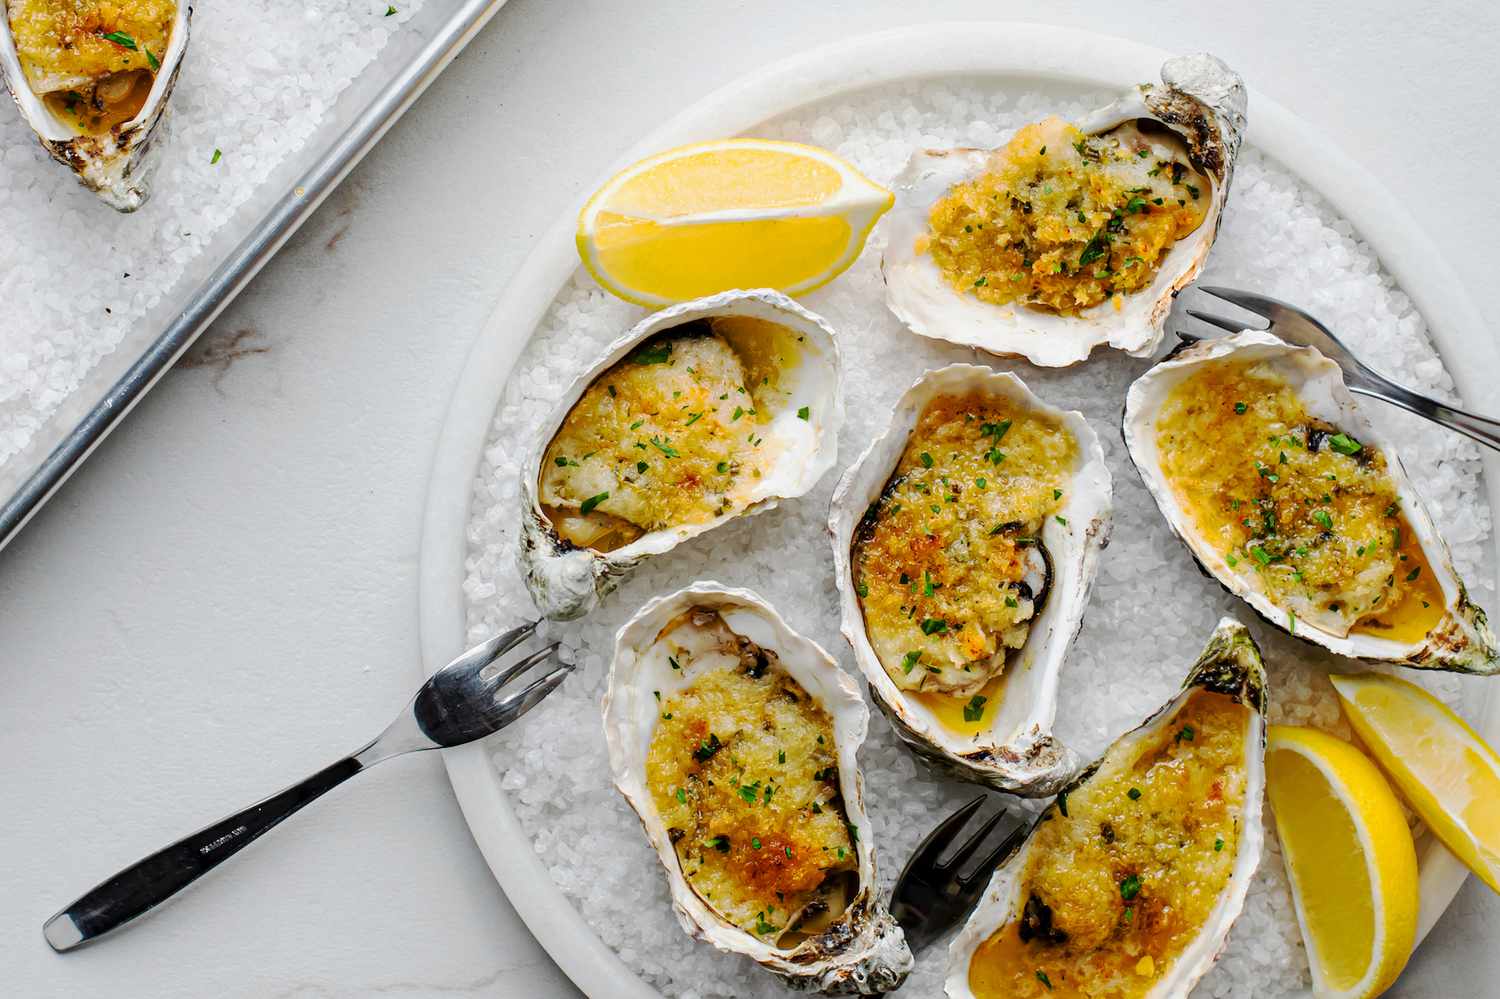

:max_bytes(150000):strip_icc()/__opt__aboutcom__coeus__resources__content_migration__simply_recipes__uploads__2009__12__Jaden-Oysters-Grilled-c3754267407d4574a7a8887868a0f158.jpg)


:max_bytes(150000):strip_icc()/530098-crabmeat-and-corn-soup-Alberta-Rose-4x3-1-ed4750bb7e7b48879eec379f79f9904b.jpg)


/https://media.azurestandard.com/files/0cdd3a47-11a4-4703-bbd9-d0a44b12f4fd)